• Twelve Flannel-Graph Tips
Twelve Flannel-Graph Tips
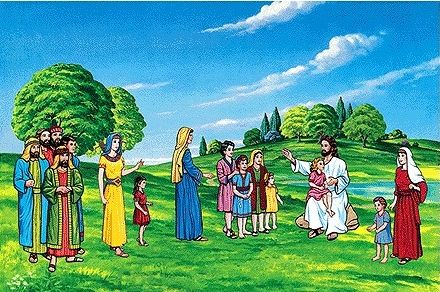
I do recognize that with all the technology that is available today for teaching children, that Flannel-Graph seems to be relegated to “old school.” However, you must take notice that the use of Flannel-Graph in many parts of the world is quite new. When you consider that many children’s leaders overseas would love to have these great colorful teaching visuals. To them these visuals are absolutely wonderful. Therefore, I am adding these twelve teaching tips for your files, just in case you have an opportunity to teach some leaders in other far away places how to use these great visuals. We have been taking Flannel-Graph Sets to India that we purchase from Kids Around the World. There is enough curriculum taken from the book of Luke and the book of Genesis to last two years!
These are my Twelve Flannel-Graph Tips
- You are a Bible Story Teller first, and an illustrator second. Having Flannel Graph is not a substitute for Bible Study. Message is more important than visuals. The visuals serve the Bible Story.
- Know the Bible Story First. Then practice illustrating the story with the Flannel Graph.
- Prepare your visuals so that it covers the whole story. Spread out the sequence of the visuals so that you alternate between the storytelling and the use of Flannels.
- Develop a sense of timing so that you place the Flannel Graph on the Background Board when you tell that part of the story.
- Have the Background and any overlays on the Board before beginning your story. Try to put something of the Board first that makes the child wonder what the story will be about, before you begin. (You can always take it off and put it back at the right time in the story.)
- Place the easel on the same side as you handedness. i.e., Right handed, easel on the right hand. This is so you will not turn your back to the audience with putting Flannels on Board.
- Prepare the Flannels in a stack with the first pieces on top and the last piece on the bottom, so you are not fumbling to find your correct pieces. You can make two stacks, if you need to have a special collection, if some have to put up, taken off and then put back up during the presentation.
- A good storyteller does not break-eye contact with the eyes of the children. Avoid turning your back to kids. If you do not have a plan to hold their attention, they will tend to watch something else. Your focus is the audience, not what is on the board.
- Reference the scene and what is happening in the scene as you teach the Bible Story. Point out the action of visuals by saying, “Notice what he is holding.” Or “Can you see what is happening here?” “What do you think she doing here?”
- How long does one see something before “they have seen it?” The visual works because they are an “aide.” It begins to loose its effectiveness when it accomplishes its purpose. Once the children see it, your storytelling takes over. An object in your hand might help focus attention. Be willing to animate your story. This keeps the kids focusing their eyes and maintains their interest in story.
- Practice putting the visuals up. Try to spread the visuals out during the whole story. Have a clear beginning, middle and ending to your story. The last visual should have something to do with the point, reason or outcome of the story. End strong, with a visual.
- You want to application or a response or a life change. This is purpose of the Bible Story. Exhortation to do something that’s your job, the visuals cannot do that for you. It is important to close in a prayer of commitment—a response to the Bible lesson.


Leave a Comment